I came across the Kubernetes Challenge at deploy and decided to literally challenge myself to learn something new in Kubernetes. I always wanted to learn GitOps and this seemed like the perfect opportunity as I went through the list of challenges. There were 2 kinds of challenges, one for folks new to Kubernetes and another one for people with experience in Kubernetes. Although I am new to Kubernetes, I have some understanding of how k8s works and working with tools like kubectl. I decided to work on Deploy a GitOps CI/CD implementation. Here's the challenge description -
GitOps is today the way you automate deployment pipelines within Kubernetes itself, and ArgoCD is currently one of the leading implementations. Install it to create a CI/CD solution, using tekton and kaniko for actual image building. medium.com/dzerolabs/using-tekton-and-argoc..
DigitalOcean Kubernetes
Of course, the challenge had to be done with a DigitalOcean Kubernetes cluster. For folks who have not heard about DigitalOcean, it is a cloud provider that offers managed Kubernetes services among other services. For the challenge, DigitalOcean provided us with credits and I received a $120 credit which was way more than what is necessary to complete the challenge.
Creating a Kubernetes cluster in DigitalOcean
There are three ways to create a cluster with DigitalOcean. Using the UI or using DigitalOcean's CLI, doctl or using Terraform. I decided to use the CLI cause it was easier for me to set it up and also configure my kubectl for the cluster.
doctl kubernetes cluster create gitops-k8s-challenge
 It only took 6m4s, which is pretty good on time in my opinion.
Setting up an API Gateway, Ambassador
Following the blog post from the challenge description made me realize I need an API gateway for exposing the application and other services. I initially installed emissary without realizing it was different from the edge stack and failed to set up ArgoCD behind an API Gateway. I used cert-manager for TLS.
Installing edge stack-
kubectl apply -f https://app.getambassador.io/yaml/edge-stack/latest/aes-crds.yaml && \
kubectl wait --timeout=90s --for=condition=available deployment emissary-apiext -n emissary-system
kubectl apply -f https://app.getambassador.io/yaml/edge-stack/latest/aes.yaml && \
kubectl -n ambassador wait --for condition=available --timeout=90s deploy -lproduct=aes
Installing cert-manager-
helm repo add jetstack https://charts.jetstack.io
helm repo update
helm install \
  cert-manager jetstack/cert-manager \
  --namespace cert-manager \
  --create-namespace \
  --version v1.6.1 \
  --set installCRDs=true
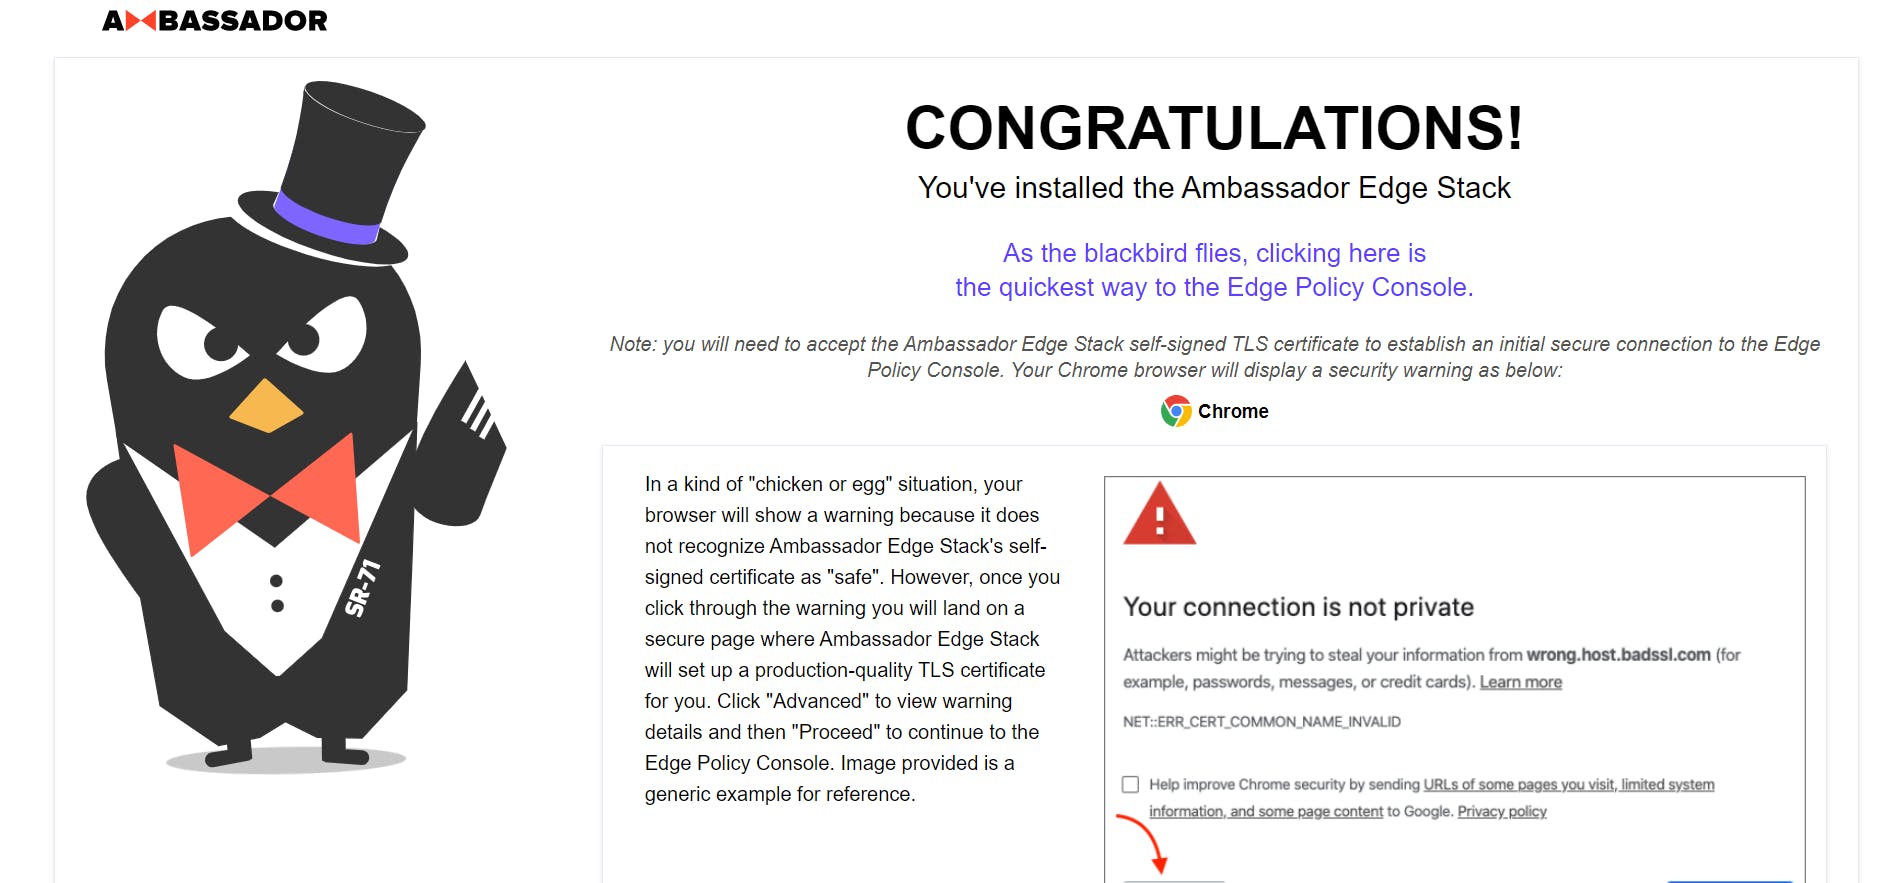
Once the ambassador edge stack is installed, we can test it out by visiting the external IP of the ambassador service.
AMBASSADOR_IP=$(kubectl get -n ambassador service ambassador -o "go-template={{range .status.loadBalancer.ingress}}{{or .ip .hostname}}{{end}}")
echo $AMBASSADOR_IP
The UI should look something like this-

Setting up DNS
In my case, I had a domain on namecheap and I added an A record entry for a new subdomain with the external IP of Ambassador. There are other ways to obtain a Fully Qualified Domain Name(FQDN) as well but this was the simplest of them all for me.

Installing ArgoCD
We start off by creating a namespace for ArgoCD and installing the ArgoCD components using the file from ArgoCD Github project.
kubectl create namespace argocd
kubectl apply -n argocd -f https://raw.githubusercontent.com/argoproj/argo-cd/stable/manifests/install.yaml
Once ArgoCD was installed, we need to put it behind ambassador. The following YAML that I picked up from the blog post does the trick. I just had to replace the FQDN with my domain and replace the email for ACME as well.
---
apiVersion: cert-manager.io/v1
kind: ClusterIssuer
metadata:
  name: letsencrypt-prod
spec:
  acme:
    email: <you@address.com>
    server: https://acme-v02.api.letsencrypt.org/directory
    privateKeySecretRef:
      name: letsencrypt-prod
    solvers:
    - http01:
        ingress:
          class: nginx
      selector: {}

---
apiVersion: cert-manager.io/v1
kind: Certificate
metadata:
  name: ambassador-certs
  # cert-manager will put the resulting Secret in the same Kubernetes
  # namespace as the Certificate. You should create the certificate in
  # whichever namespace you want to configure a Host.
  namespace: ambassador
spec:
  secretName: ambassador-certs
  issuerRef:
    name: letsencrypt-prod
    kind: ClusterIssuer
  dnsNames:
  # Replace this with the FQDN value
  - <my_fqdn_replace_me>

---
apiVersion: getambassador.io/v2
kind: Mapping
metadata:
  name: acme-challenge-mapping
  namespace: ambassador
spec:
  prefix: /.well-known/acme-challenge/
  rewrite: ""
  service: acme-challenge-service

---
apiVersion: v1
kind: Service
metadata:
  name: acme-challenge-service
  namespace: ambassador
spec:
  ports:
  - port: 80
    targetPort: 8089
  selector:
    acme.cert-manager.io/http01-solver: "true"
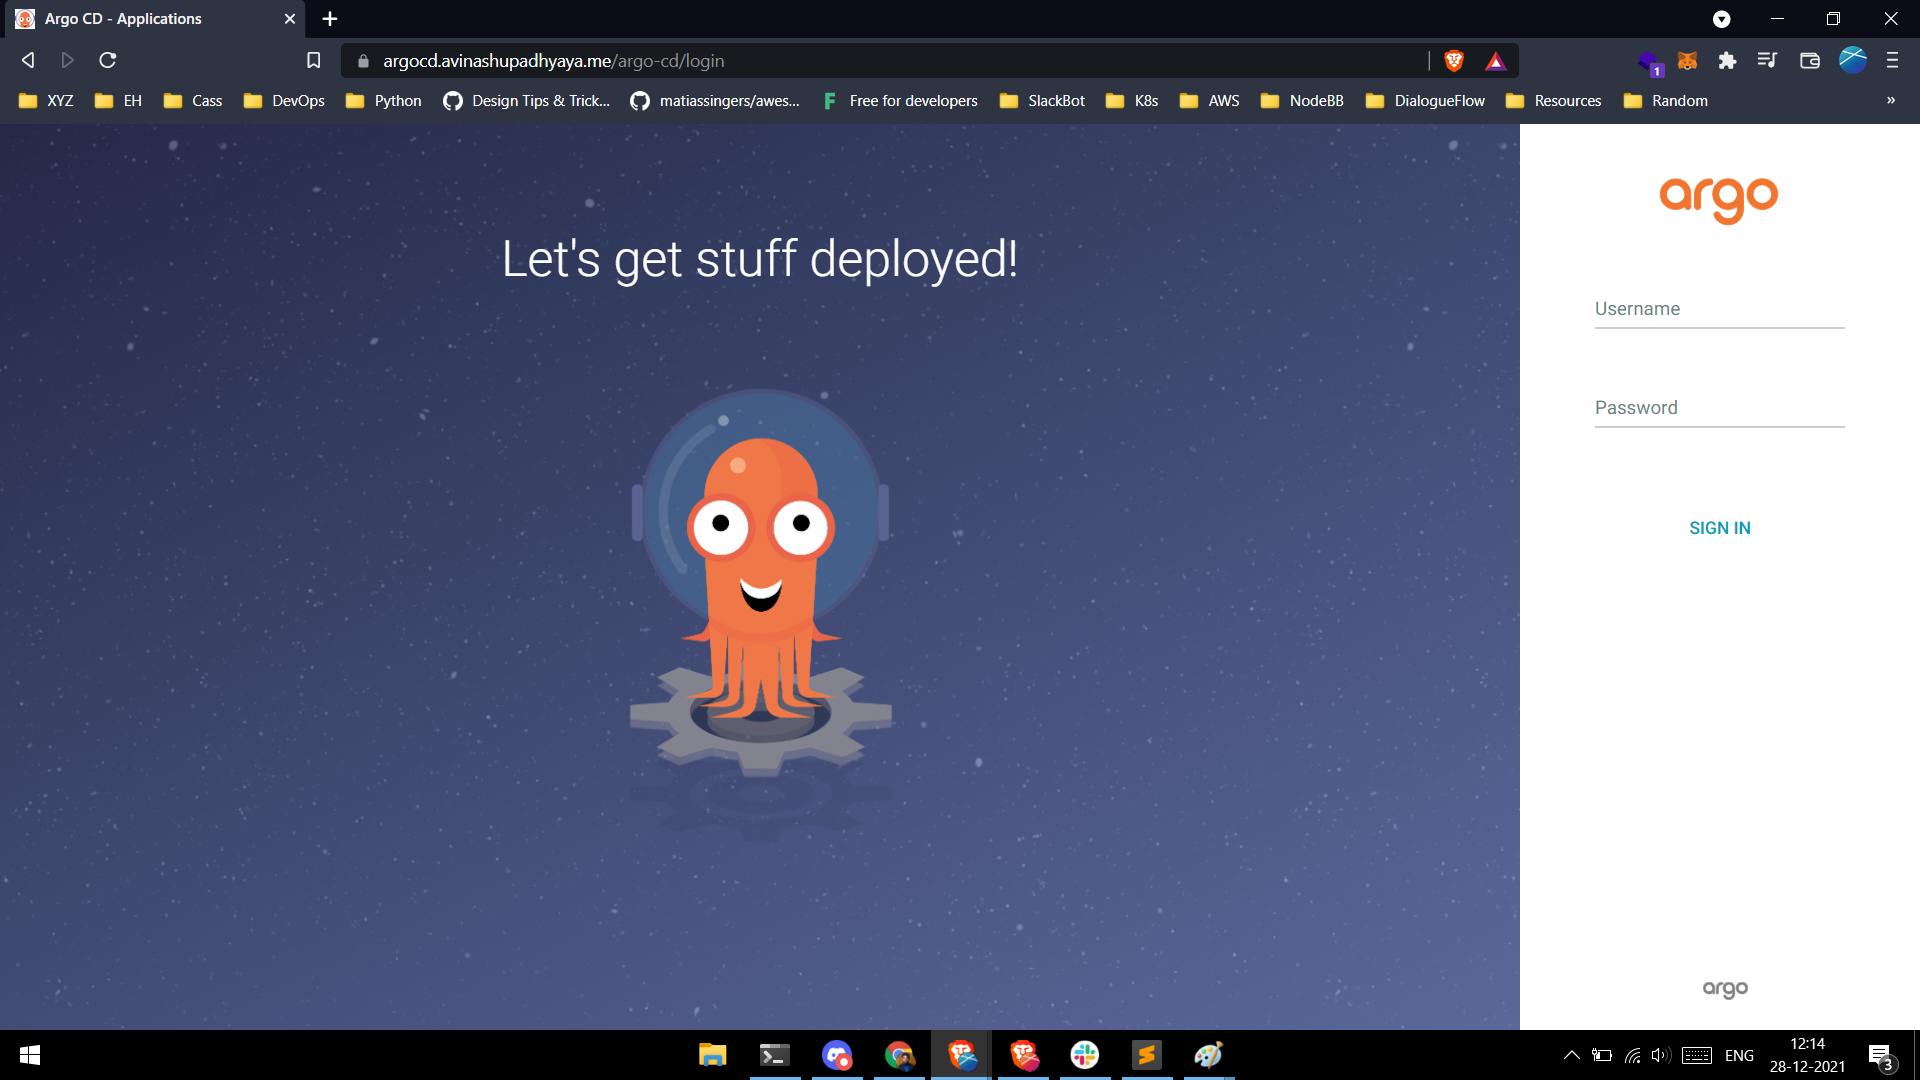
Now, visiting mysubdomain.mydomain.com/argocd would display the ArgoCD UI.
 Everything looks good with TLS, let's log in and set up ArgoCD. The initial password is stored as a Kubernetes secret and can be obtained by running
kubectl -n argocd get secret argocd-initial-admin-secret -o jsonpath="{.data.password}" | base64 -d; echo
The username is admin and we got the password through the secret. We'll also need the ArgoCD CLI to set up our application on ArgoCD. It can be done via the UI as well but I prefer the CLI. Follow the docs from ArgoCD for installing the CLI on your machine. Once installed, we can login through the CLI as well.
argocd login <ARGOCD_SERVER> --grpc-web-root-path /argo-cd
In our case, the <ARGOCD_SERVER> would be mysubdomain.domain.com. Let's change the initial password to something more secure.
argocd account update-password
Installing Tekton
Now, for installing Tekton, I created a new dev cluster so that Tekton is not present in a production cluster. Tekton is a Kubernetes native CI tool and all the instructions (pipeline) are defined as Kubernetes manifests. Installing Tekton is straight forward with
kubectl apply --filename https://storage.googleapis.com/tekton-releases/pipeline/latest/release.yaml
This should set up everything we need to run Tekton in our cluster. We'll also need the Tekton CLI tkn for running the pipelines.
Continous delivery with ArgoCD
I placed all the Kubernetes manifests necessary for the demo application, kubegen, that I wrote for this challenge in a separate repository so that the ArgoCD can be triggered only when the manifests are updated.
argocd app create kubegen --repo https://github.com/avinashupadhya99/kubegen-manifests.git --path kubernetes-prod --dest-server https://kubernetes.default.svc --dest-namespace default --sync-policy automated --sync-option ApplyOutOfSyncOnly=true
This will create a Deployment, a Service, and also a Mapping for Ambassador, which means visiting mysubdomain.mydomain.com will render the application.

Continous integration with Tekton
There are a few concepts in Tekton that one must understand before creating pipelines. I've tried to explain these with an example since I found it a bit hard to grasp at first.
Task - A Task is a collection of Steps that you define and arrange in a specific order of execution as part of your continuous integration flow. For example, a task can be to clone a git repository
Step - A task can have multiple steps. These steps perform a single functionality. For example, a step can be writing to a file and another step can be reading from that file, all happening in a single task.
Pipeline - A pipeline is a series of tasks executed in series or in parallel. It constitutes the entire Tekton flow.
PipelineResource - A pipeline resource is any resource that is required by the pipeline for its execution. For example, for cloning a repository, we'll need a git repository. This is a resource.
PipelineRun - A pipeline run is a pipeline in execution. This is where the resources and other parameters are provided for the pipeline for its execution.
Workspace - A workspace is a common space shared by the tasks in a pipeline.
Our first task would be to clone the git repository. Luckily, we have a pre-defined task for that in the Tekton hub. Let's install the git-clone task using
kubectl apply -f https://raw.githubusercontent.com/tektoncd/catalog/main/task/git-clone/0.5/git-clone.yaml
Next, we'll need kaniko for building our images.
kubectl apply -f https://raw.githubusercontent.com/tektoncd/catalog/main/task/kaniko/0.5/kaniko.yaml
Before we create our pipeline, let's create storage for our workspace and create a workspace as well. We'll begin by creating a PersistentVolume.
---
apiVersion: v1
kind: PersistentVolumeClaim
metadata:
  name: pipeline-pvc
spec:
  resources:
    requests:
      storage: 5Gi
  volumeMode: Filesystem
  accessModes:
    - ReadWriteOnce
  persistentVolumeReclaimPolicy: Retain
Let's create a couple of secrets for git and docker hub credentials. These are Kubernetes secrets.
---
kind: Secret
apiVersion: v1
metadata:
  name: ssh-credentials
data:
  id_rsa: # ... base64-encoded private key ...
  known_hosts: # ... base64-encoded known_hosts file ...
  config: # ... base64-encoded ssh config file ...
We'll use the kubectl command line to create the docker hub secret.
kubectl create secret docker-registry dockercreds --docker-server=https://hub.docker.com --docker-username=<DOCKERHUB_USERNAME> --docker-password=<DOCKERHUB_PASSWORD> --docker-email <DOCKERHUB_EMAIL>
We'll also need a service account to associate with the secrets
apiVersion: v1
kind: ServiceAccount
metadata:
  name: tekton-service
secrets:
  - name: dockercreds
  - name: ssh-credentials
Once we have the tasks installed, we can create a Pipeline and a PipelineRun.
apiVersion: tekton.dev/v1beta1
kind: Pipeline
metadata:
  name: kubegen-pipeline
spec:
  params:
  - name: code-git-url
  - name: code-folder-name
    default: code-source
  - name: manifest-git-url
  - name: manifest-folder-name
    default: manifest-source
  workspaces:
  - name: source
  tasks:
  - name: code-git-clone
    taskRef:
      name: git-clone
    params:
    - name: url
      value: $(params.code-git-url)
    - name: subdirectory
      value: $(params.code-folder-name)
  - name: manifest-git-clone
    taskRef:
      name: git-clone
    params:
    - name: url
      value: $(params.manifest-git-url)
    - name: subdirectory
      value: $(params.manifest-folder-name)
apiVersion: tekton.dev/v1beta1
kind: PipelineRun
metadata:
  generateName: kubegen
spec:
  pipelineRef:
    name: kubegen-pipeline
  serviceAccountName: tekton-service
  params:
  - name: code-git-url
    value: https://github.com/avinashupadhya99/kubegen.git
  - name: manifest-git-url
    value: https://github.com/tekton-example/kubegen-manifests.git
  workspaces:
  - name: source
    persistentVolumeClaim:
      claimName: pipeline-pvc
The Tekton pipeline is incomplete with the kaniko and update-manifest tasks missing. I will be adding that soon.
We can now execute the pipeline by applying both the Pipeline and PipelineRun. Run the following command to get the logs of the pipeline.
tkn pr logs -Lf
Thank you to DigitalOcean for creating this challenge. I had lots of learning and hope to continue with the same.
Resources and References -
- youtube.com/watch?v=MeU5_k9ssrs (ArgoCD Tutorial for Beginners | GitOps CD for Kubernetes)
- youtube.com/watch?v=CnVCgMRE4xI (Hands-On Intro to Cloud-Native CI/CD with Tekton)
- youtube.com/watch?v=VaCHz1ik5P8 (Deploying Apps with ArgoCD)
- levelup.gitconnected.com/how-to-setup-a-tek..
- tanzu.vmware.com/developer/guides/tekton-gs..
- medium.com/hiredscore-engineering/getting-s..
